Showing posts with label ELA Centers. Show all posts

Tuesday, May 17, 2011

ELA&Math Center Activity Resource

This is a great resource for instant center activities.  Print on cardstock, laminate, cut, self-correct with writing answers on the back and GO!

I really like the picture and math sorts.  Since they are quick and inexpensive to make, I am thinking about sending these home next year as take-home reinforcers.
Black-line Masters of ELA and Math Sorts

Saturday, May 14, 2011

New Storage for Center Activities

I am in organization mode the last six weeks of school every year.  I like to reorganize my room and set things up the way I want it next year.  Even though we have to box up everything over the summer, at least I have an idea and the pictures to help me assemble my classroom for next year.

I hated my old way of organizing my centers (which can be viewed in an earlier post). I wanted my activities easily accessible and quick to view at a moments notice.

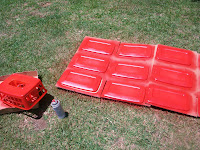
I purchased the shoe bins at Walmart for a dollar and spray painted the tubs' lid red for Math and blue for ELA.
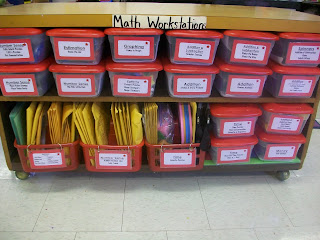
I labeled each tub with the skill and then listed the activities that were in that tub.  There are about 3-4 activities in each tub.  If I were to do this all over again, I would just type the skill, laminate the cards, and then with permanent marker write the activities in each tub because sometimes I add a new activity to the tub.  If it does change you can always erase the permanent marker with a Magic Eraser.  It comes right off!  (So, much for permanent...huh)  Each label has a red star that means, "Don't touch" (for the kiddos)
I got smart and applied my label idea to my ELA tubs (since I did these second).  Each label just has the skill, I still need to write with permanent marker the activities in each tub.  The red star on the label means, "Don't touch" (for the kiddos)
These ELA activities are strictly my Treasures activities.  Treasures is our reading adoption.   Each tub has a red dot on the label that means, "Stop, don't touch" (for the kiddos)
Spray painted the lids and basket (which was a purple color, not the scheme of my room)
I used spray paint for plastic.  
Since I was using a large portion of my shelving for my center activities, I needed more shelving.  Instead of buying a bookshelf (that will fall apart in a year), I decided to make my own out of cement blocks and wood.  I can easily store this over the summer by taking it apart (unlike other bookshelves I have in my room). When I move schools, cities, states, I can leave behind my cement blocks and just take the wood. Moving from Texas to Louisiana, the bulky bookshelves were a hassle to move.       
The tubs with yellow lids have scissors, highlighters, and Magic Erasers.  These used to be behind my desk, but I like that they are easily accessible and I don't have to stop my teaching just to get to them.  My white tubs have my math manipulatives.  I am thinking about spray painting them red to go along with my color coding theme.  In my apple basket I have my dry erase markers, which I love that are by my dry erase board.  I have "Star Pencils" for kids who are amazing, on top of my stereo is a basket with stickers and then my GONG.  Which my mom got for me because we couldn't stop playing with it at Lakeshore.  
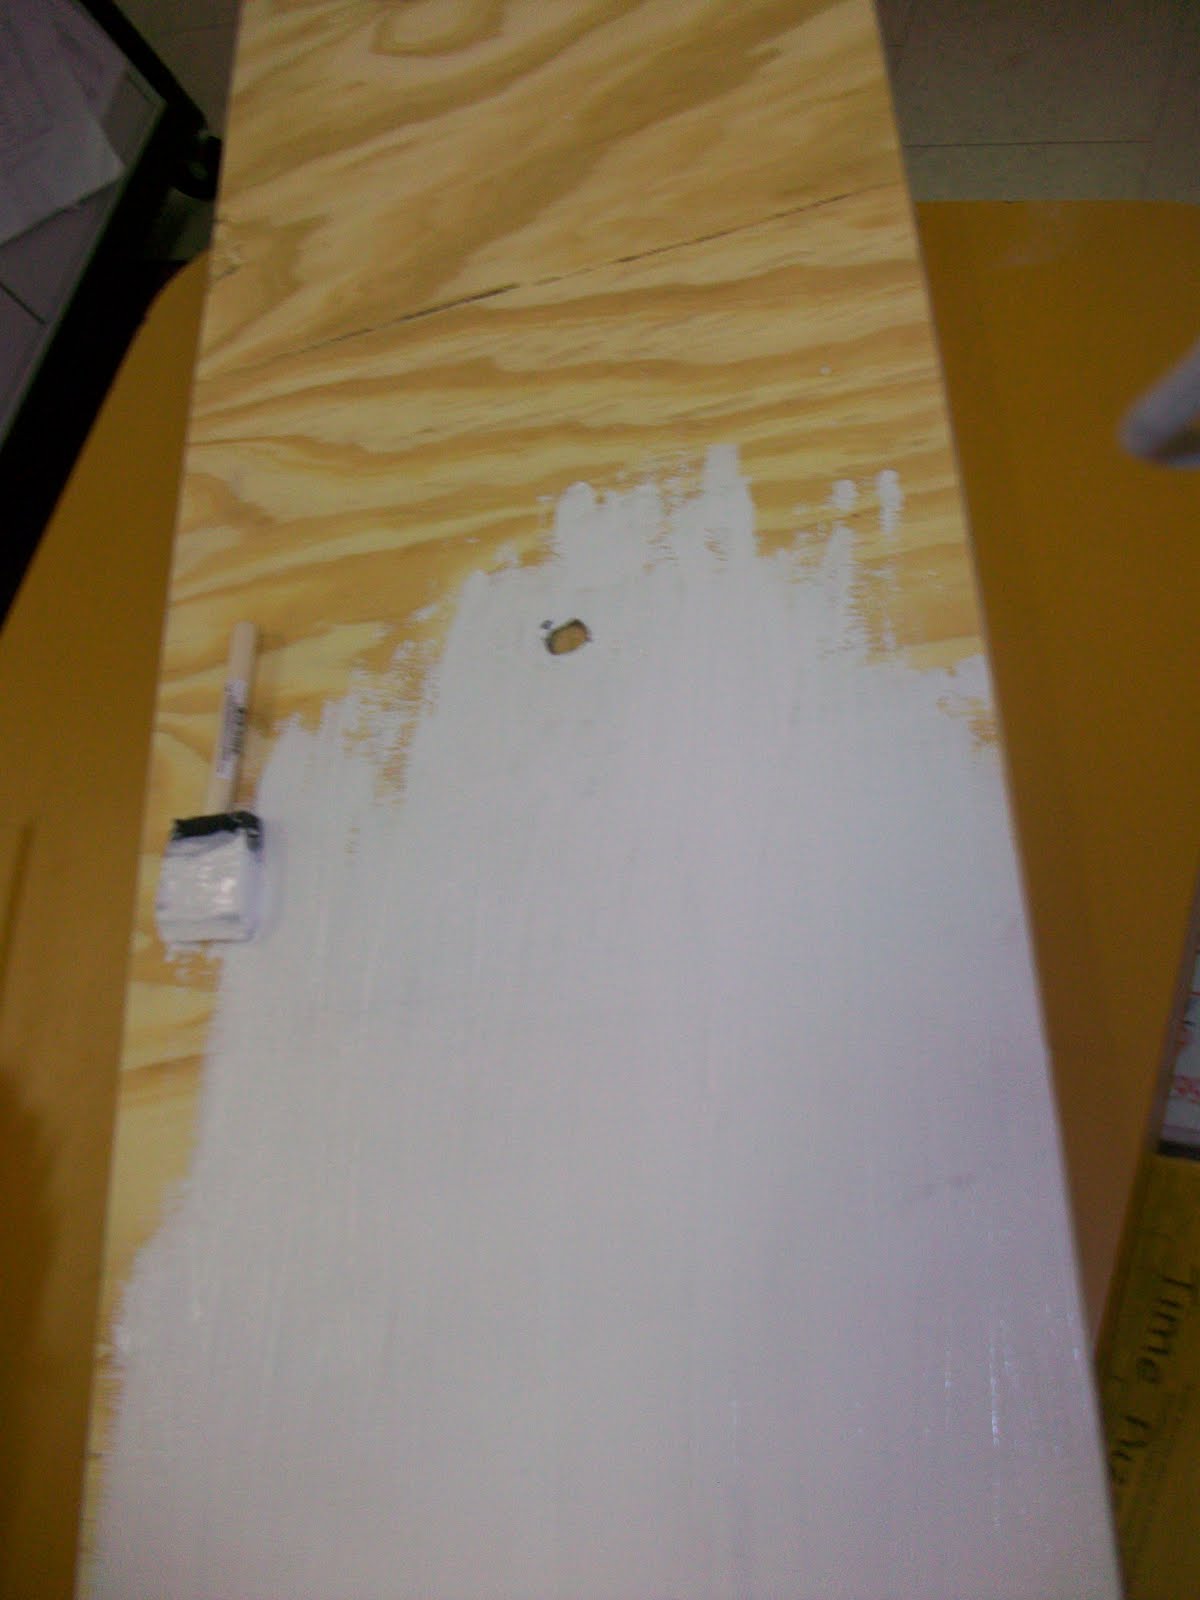
Primer on wood
Working hard after hours!
I only painted the sides that you would be able to see.  I bought wooden stars and tape that will stick to cement to decorate the blocks with.  Maybe I will do that next year.

Wednesday, March 30, 2011

Workstation Flower Pens

In an earlier post, I mentioned my love for Flower Pens.
Click for more info. on Flower Pens!

I decided to make some for my kids to keep them motivated to work during centers.  It is amazing how a change in a writing tool can make them want to work =)
Kids' Flower Pens at Center Table
Flowers from Dollar Tree, Tub from Hobby Lobby


Sunday, March 20, 2011

Long /i/ Fry Sort


THANK YOU First Grader...at Last! for this AWESOME IDEA!
I painted popsicle sticks and wrote the words with permanent marker.  I color coded the phonics rule.  This one is blue.
Each set is color coded so when students mix-up sets, they can differentiate.  I color coded the back of each fry, too.


Tuesday, March 15, 2011

Contraction Cupcakes

Yummy!
What a delicious way to practice contractions.  I got this idea from multiple teachers.
Cupcake Die-Cuts (Dollar Tree, 6/$1), Cut then laminated for durability.  I made 4 sets of  7 contractions.  Each set has different contractions on the cupcakes.  So, when they are finished with one set, they can do another set.

Monday, March 14, 2011

Reading Baskets!

Students love to sit back in a Reading Basket with a good book =)
Reading Baskets are a great alternative to spending a fortune on building an inviting area for students to read.  In addition, it is a great behavior management tool because it gives students a defined reading space, where it is hard to disturb other readers.  The laundry baskets were purchased at Walmart for $5 each.  I purchased $3 towels at Walmart to make the basket more comfortable.
Student reading in a Reading Basket into a Whisper Phone (PVC Pipe-Lowes)
Funny how they would rather read in a laundry basket than on the couch = P
Don't let the size fool you.  Even I can fit into a Reading Basket and they are comfy =)


Dollar Tree Deals!

Foam Dice (2/$1)  Whenever I see these dice at Dollar Tree, I always get them.  You can use them for anything.  Plus, they are quiet.
CVC, Letter Sounds, Number Learning Cards (3/$1)  I bought 4 sets and labeled w/ numbers (set 1, 2, 3, 4-So, students will not mix-up the sets)
Foam Puzzle Clock.  I bought 5 clocks.  Label on the back w/ the number of that set- So, students can work side-by-side and not mix-up  pieces.
Big Number-Line to 70.  I bought 5 number-lines.  I taped this number line together and laminated for durability.  Then I cut it up in puzzle piece fashion.  This number-line is about 10 ft. long, so you need some space.

Phonemic Awareness Activity

Self-Correcting feature
Purpose
Reinforce beginning sounds
Differentiate between 2 (or more) beginning sounds


Materials+How to Make

  • Enlarged T-Chart 
    • I used a poster maker and laminated for durability
  • Pictures w/ same beginning sounds  (10 pictures + Upper and Lowercase Letter)
    • I made this using PowerPoint and laminated  
  • Ziplock Bags Labeled w/ Letter Sound
    • I have 26 Ziplock bags (26 letters)  
    • Do not put all the bags out at once.
  • 4-5 Separate Bags for Center
    • I select letter pictures from one of the 26 bags.  
    • I mix 2 letter sound pictures+the Letters in the same bag and LABEL what letters the student will be working with in that center.  I use masking tape to write he letters and place on bag (shown in picture).  
    • I change-out the label and pictures w/ new beginning sounds or combinations.
  • Self-Correcting
    • I put the answer on the back of each picture, so students can check their work.
  • Differentiate
    • You can increase difficulty by putting letter combinations w/ similar sounds (like M/N, or E/I, G/J etc.)
    • You can increase difficulty by comparing more letter sounds (A/E.I etc.)
This center activity was time consuming making, laminating and cutting but I can use it all year and and continually rotate the sounds.


Sunday, March 13, 2011

Tuesday, February 1, 2011

Phonics Stamps

I love using stamps in centers because they are durable and the students enjoy using them.  I purchased these stamps from Lakeshore to use as an extension after they complete the "must do" activity.  
I created a recording sheet to help the students organize the words.    Each colored stamp focuses on a different phonics skill.  (beginning sounds, middle sounds, ending sounds)  In addition, I purchased the second kit, Lakeshore sells, which focuses on skills good for the second-half of 1st grade. (digraphs, blends, vowel sounds)  I organize the stamps in ice cube trays from Dollar Tree b/c I didn't want the cardboard box the stamps came in to get torn and all inky.
Here is an example of the Phonics Stamps Activity in action.  What a great way to practice!  The only downside is that it is not self-correcting.

Sunday, January 30, 2011

Permanent ELA Center Activities

I explained in a previous post rules for implementing center activities.  One of my rules is I have center activities that never change but the skill will change.  The following are examples of my ELA activities that I teach the kids how to do once and they are good for the rest of the year.  Therefore, I am not wasting time teaching them how to do the activity.  This leaves more time for them to practice the skill. 


If you notice all activities start with something they can manipulate.  The follow-up activity is more of an assessment/accountability tool.
Word Work Center- These are Phonics Puzzles that reinforce the new phonics skill we are learning that week.  These puzzles show S blends.  The student matches the word with the picture.  It is self-correcting b/c the puzzles will match.  I made 4 sets of the same puzzle.  Since I will have no more than 4 students in a center at one time.  In case the students mix-up the puzzle pieces, I label them with numbers on the back.  All #1 pieces go in the #1 bag etc.
Word Work Center-  This is a follow-up to the Phonics Puzzles.  When the students complete the Phonics Puzzle, they write the provided sentences in their journal and insert the correct word.  The should be familiar with the words, since they are the same ones that were on the Phonics Puzzles. 
Word Work Center-  This is a broader shot of the Phonics Sentences.  The students have a Word Bank of their phonics words on the dinosaur.
Listening Center- The Rhyming Puzzle pieces are similar to the Phonics Puzzles.  The only difference is the Rhyming ones only have pictures on them.  I make 4 sets of the puzzles and organize them with the numbers just like the Phonics Puzzles.  The follow-up activity is a Rhyming assignment which reinforces the same words the students were exposed to in the puzzles.  
Reading Center-  These are Sight Word Sentence Puzzles.  The puzzle pieces focus on the new sight words and phonics skills being taught that week.  When the students put the sentence together they record it on a recording sheet.  There are 8 puzzles, each one is different.  This activity is explained on a previous post.

My Rules when Implementing Centers

Yes, I know that the "educational political correctness" is Literacy Workstation, but I am still going to call them centers.  It saves time to say and I am all about being efficient ; )

The Following is my Center Theory 
My rules when implementing centers.
  1. Have the students do the same center activity every week, but change the skill focus.  Teaching how to do an activity is a waste of time.  Students need to spend more time practicing the skill.  These center activities that never change, I call my "MUST DO" activities.  This means it is the first thing they must do in the center.
  2. Every station has a "MUST DO" activity and a "FUN NEVER-ENDING" activity.  The never ending activity is meant as a reward and motivator for them to finish the "must do" activity.  These never change and are differentiated.  Examples of possible never-ending activities would be: letter stamps, spelling scrabble (I explained this in a previous post), reading in the library, play dough letter stamps, writing etc.  A student will never finish a never-ending center or it is designed to take a long time to complete.  This eliminates the problem of students not having anything to do during centers.  Their work is never done. 
  3. I try to give my students at least two activity choices when they have finished their "must do" activity.  One choice will be the "never-ending" activity and the other one maybe an activity that reinforces a past skill.  These activities are new and therefore, exciting for the students (since it is something different), so I model it whole group, on Monday, before putting it in the center for that week.
  4. I post simple directions in the center.  I number each direction, so they know what to do first and last.
  5. I have two center rotations.  At the end of each center rotation, the students put their heads down and I walk around to "inspect" the center supplies.  This takes 1-2 min.  However, I feel it is a necessity if you want your supplies to be intact and everlasting.    
  6. I am super organized when it comes to putting my center activities in their tubs.  I have taught my students to place the flat things on the bottom of the tub.  Putting supplies in a tub may seem like an easy task, however, spacial awareness must be taught.  They need to understand that if you place something in diagonal it will get bent and that if it is awkward in shape, you might want to put it on top of the flat supplies.  Teaching how to respect the supplies of the classroom goes a long way. 
Directions are posted at each center.  Notice I use words and pictures.  These direction never change but the skills do in the "must do" activity.  The "must do" activity will be #1.
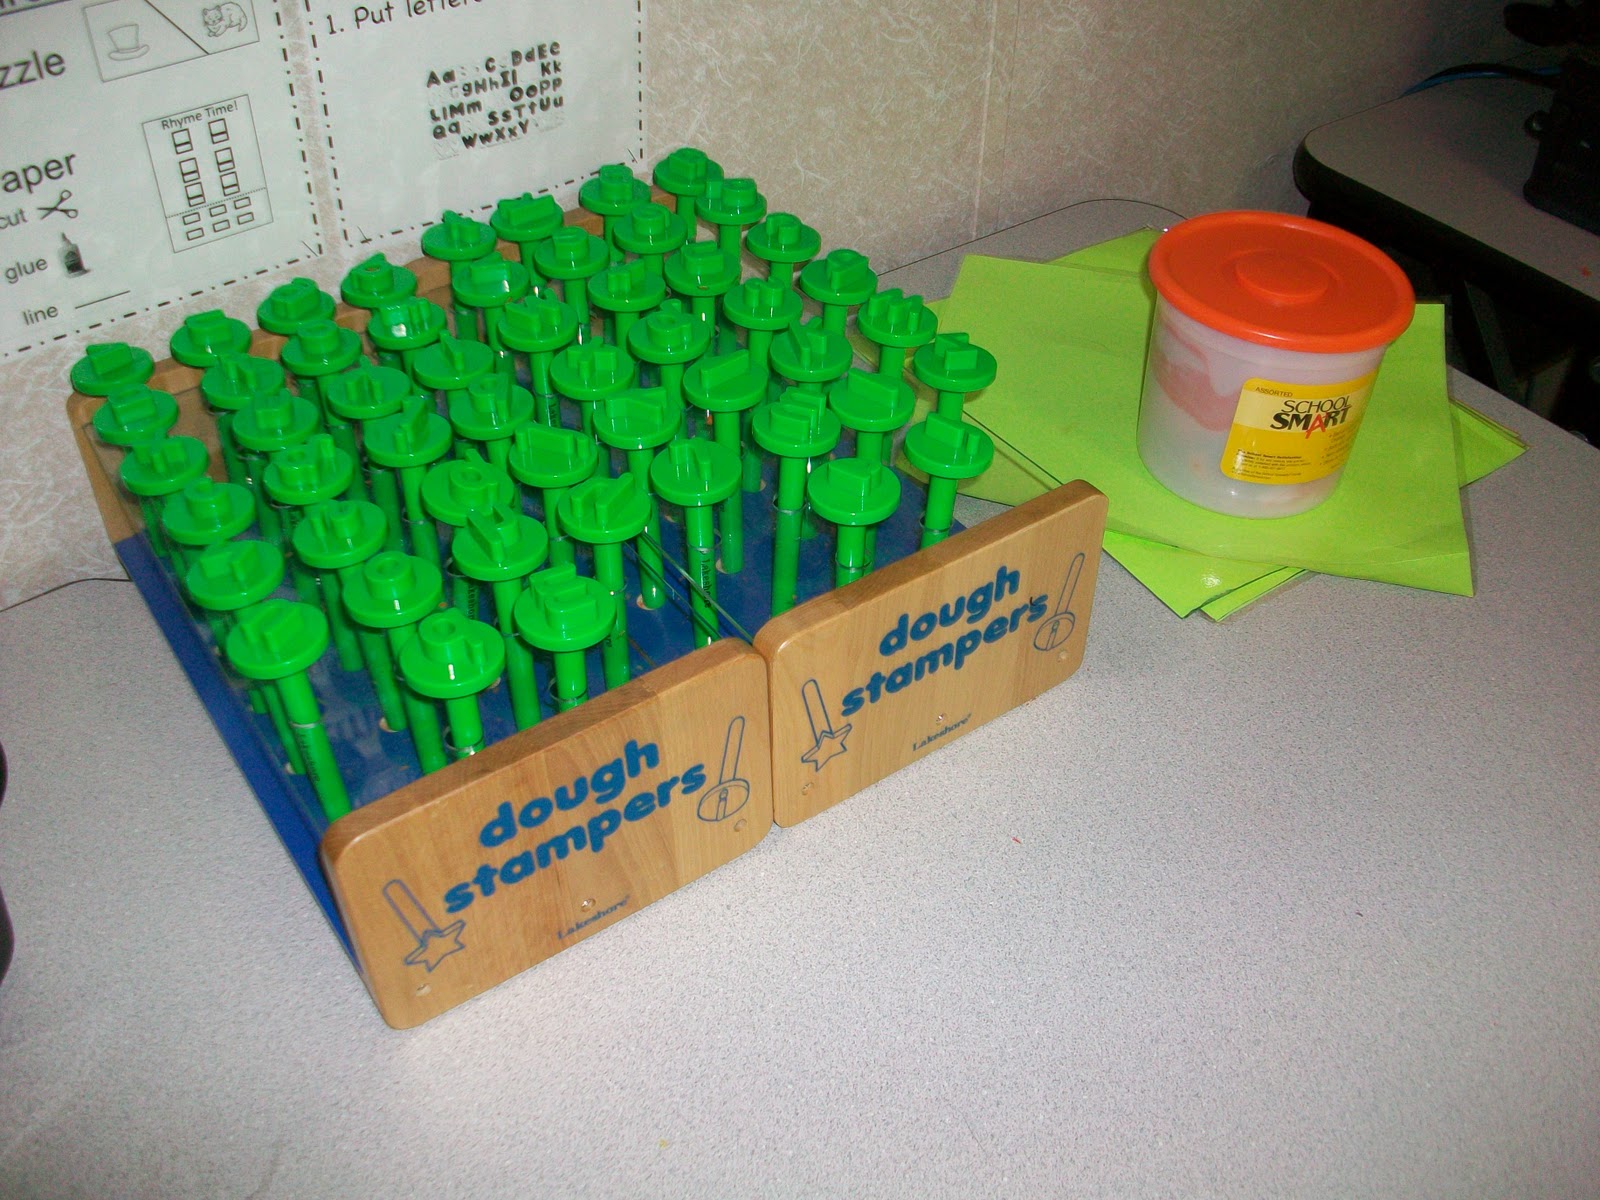
Example of a "never-ending" center activity.  These letter dough stampers were purchased at Lakeshore.
Example of a "never-ending" center activity.  You can print these mats from Alphabete Avenue.  This activity is great for the beginning of the year.
This is an example of a "never-ending" center activity.  I love these stamps because they have the lines underneath each letter.  So, the students do not accidently stamp them upside-down.  I purchased them from School Aids.

Sunday, January 9, 2011

Phonics Activity

This is a great phonics resource.  It has lots of work mat reproducibles.  All you need is to copy and laminate.  It does come with reproducible letter tiles, but you could just buy your own.  Letter tiles are sold at any school supply store.

I make the mats self-correcting by having the answer on the back.  At the beginning of the year, the students can use the completed side to place the letter tiles over the letters.
I made a set of vowel work-mats.  I color coded them, so each student has all the vowels.

Saturday, January 8, 2011

Center Activity Storage

I store all my centers under my desk in gray tubs that I purchased from Wal-Mart.  I store the individual activities in large envelopes or ziplock bags.  (Unfortunately, not everything can fit in the tubs.  I store things like large foam dice, piggy banks, bowling games etc. in my file cabinet.)
I write the skill that the activities are in the tub cover.

Wall of Words

Word Wall
As we learn a new word, it is added to the wall.  This is my wall for ELA words.  I printed the words out, pasted them on red index cards and then laminated them.  

The ABCs are from Mardels.  I added a blue dot to the vowels.  The letter "Y" gets 1/2 a blue dot, since it is sometimes a vowel.
Pictured: Word Wall, Listening Center, Directions for the Listening Center, Computer Center, Dividers for the Computers (I got the foam boards from the Dollar Tree and spray painted them.  This helps with behavior.
Pictured: Close-up of words, notice the blue dots for the vowels

ELA Center Tubs

Here is where my students get their ELA Center tubs.  The leader will take the tub to a specific location in the room.
*Pictured Above: Center Crowns, "Think Tub", Center Tubs, Center  Mailboxes)*
Tub with a Sad Face= This is called the "Think Tub".  When a student is not following directions during center time, they must complete an ELA worksheet instead of having the privilege of working on a center activity.  When they finish the sheet, they put it on my desk and return to their center.  Students do not ask me if they can go back to centers (b/c I will be in a small group), they know to do it on their own.
Blue tub that says, "Center Crowns"= This is where we store the crowns for the leaders.  From 9am-10am we have a whole group reading lesson.  At 10am, I pass out crowns to students who were doing an amazing job participating and following direction during that time.  One student will receive a crown for each NUMBER group.  The job of the leader is to get the center tub, pass out supplies and put center tub away.  In addition, they need to monitor the progress and behavior of their group.
Black tubs with pictured labels= Pictured are four of the five center tubs.  Centers: Library, Word Work, Spelling, Reading, Listening (not shown-this tub is in the center location already), and Computers (no tub needed)
Last year, the students kept a"Center Folder" to hold all their center work.  I did not like that because I had to rummage through the desk to get it, work that had glue on it would get all over and the folder would get torn-up quickly.

This year I tried something different and love it!  I got two letter mailboxes from Office Depot.  I numbered the slots, so I wouldn't have to rename the slots every year.  The students put completed center work in their mailbox.  


Friday, January 7, 2011

Supplies for Small Group

Supplies I Use in Small Group
These supplies are stored in the canvas bags hanging by Command Hooks on the wall.  I switched over to the hanging bags (over plastic storage drawers) because it was off the floor and out of the way.  
All those canvas bags came in one package at Hobby Lobby.
This bag holds dry erase markers.
This bag holds our Puppet Erasers (You can get them at the Dollar Tree)
This is how you use a Puppet Eraser.  It is perfect for cleaning dry erase boards and the kids love them.  =)
Since I progress monitor at my small group table, I store my progress monitoring books here.
I keep an ABC chart, Blends and Digraphs Chart, Hand Clappers (working with syllables-Dollar Tree) and Pointers (From ReallyGoodStuff or Party City during Halloween season).  We use these fingers to point to the words when we read.