Showing posts with label Classroom Management. Show all posts

Tuesday, March 20, 2012

Spring Cleaning the Classroom

It is that time of year, again.  Towards the end of the year, I start getting anxious for the next year and start to think what I could do to improve.  Starting things ahead of time, will allow me time to get out all the "kinks" since I still have students to test my new ideas on.  The following is how I have kept busy...


Thanks to the inspiration of Mama Jenn, I revamped my Calendar Math area.  I lack bulletin board area in the front of my classroom, so I used corkboard (from Hobby Lobby) and covered it with cloth.  Then placed it over the white board to create a makeshift bulletin board. 


Underneath the Calendar Math area, I have added a Nonfiction section to my classroom library.  I used to store all my books in boxes and told myself I would regularly switch them out.  Unfortunately, I would find excuses as to why I couldn't switch them out, so I decided I would try to put all of the books out.  The kids love this section. 
New Calendar Math Area, New Non Fiction Library Area,  New Read/Writing Easel
Also pictured above is my new Reading/Writing Easel.  I am in LOVE!  I took on a second job teaching morning tutoring and Saturday school so I could purchase it.  Arriving to school at 6am everyday was totally worth it! 
Fiction Picture Book Section
Above is my Fiction Picture book section.  Collecting those blue containers from Dollar Trees was no easy task.  I still need more to accommodate all my books.  So for now, this will have to do.  All of the books have stickers on the cover that match the sign.
Fiction Book Area
I have decided that next year, I am going to use more of the Sterlite Plastic Shelves because they are easy to assemble and store.  I think my days of buying bookshelves are over.  I purchased white and gray, but I think I like the gray ones better.  I may just spray paint the white or use it somewhere else since it looks out of place.


My camera was not cooperating.  I was only able to get 3 shots before it stopped working.  When I get a new camera, I will post more pics from different angles.  My library has actually changed since I last took these pics.....ha....a teacher's work is never done =)  

Wednesday, August 24, 2011

Star-Themed Classroom Pics.

Well, better late than never!  As we approach the 12th day of school, I can finally step back and breathe a sigh of relief.  We have accomplished SO much: my students are doing a fabulous job following the rules; procedures are becoming more ritual; we are able to go without using the restroom for longer periods at a time (even the teacher, too); my students are masters at cleaning up and keeping our room organized; WE ARE BUCKET-FILLERS; they know their assigned number; they can come to the carpet, walk in the halls using fingers and ducktails, raise their hands (still working on waiting to be called on ;) and SO MUCH MORE!  This is going to be an amazing year!

The following are pictures of my classroom.  This is the first time I have used SmileBox.  The pictures automatically zoomed-in, so some photos maybe unclear.  Thank you to all those teachers for sharing your ideas!  You may notice some of them in my photos.  Enjoy!

Click to play this Smilebox slideshow
Create your own slideshow - Powered by Smilebox
Free photo slideshow customized with Smilebox

Saturday, July 23, 2011

Classroom Management that Clicks!

A dog training clicker for your classroom?!?
*Let me give you some background information.*
My students walk in a straight line through the halls.  The Line Leader is the ONLY student who listens to my directions while the rest follow and watch the person in front of them.  I will tell the line leader, "Go and listen to my voice" while I stay behind letting my kids pass.  Then I will say, "Stop" for the leader to stop.

Instead of using my voice, I purchased a dog training clicker.  One click will mean GO and two clicks will mean STOP.  I have heard of other teachers using clickers for a variety of things.  This idea is nothing new and probably originated with nuns using it in Catholic Schools (or so I heard).  I just wanted to share with others who might not of heard of this classroom management technique. I am excited to try it starting the first day of school!  
Use a clicker to get students attention, give directions and/or use for transitions.
A clicker in action! You can keep it in your pocket or put it on a lanyard around your neck.


Sunday, July 17, 2011

Alternative Big Book Stand

Reading big books has always been a major juggling production because I lacked a big book stand.  If only I had the extra money and room, I would have purchased one long ago.  WELL, good thing I didn't because the solution was right in my very own home!!!  A music stand was the perfect alternative.  
Use a music stand for display and assisting with reading big books.  They are inexpensive, adjustable and easy to store.  

Tuesday, July 5, 2011

Name Badges

I dread getting name tags ready for the first week of school.  Normally, I would laminate some decal with their name on it and string yarn through a punched hole at the top.  

This would take me FOR-EV-ER!  

The kids were to wear this around their neck while I learned their names.  However, it ended up not working half the time because the decal would get flipped around displaying the back or the yarn would get so twisted it took two teachers to set the child free.

Here is my solution!  I purchased badge holders and badge clips from Walmart.  I bought 2 sets of 12 badge holders for $1.88 each and 2 sets of 12 badge clips for $1.88 each.
Reusable First Days of School Name Tags or Field Trip Name Tags


Saturday, June 11, 2011

New Treasure Chest

I have used the same cardboard treasure chest that was left in my room by a previous teacher for a couple of years, now.  Although I like the look of it, it is starting to fall apart.  Originally, I wanted to go with an authentic looking treasure chest that was made of wood, but I wasn't crazy about the weight and bulk that would come with it.
My recent trip to Ikea ended my search!  It is light and can fold-up for easy storage/move.  It is big and can store prizes that are oddly shaped.  I would of rather something blue, but I have a feeling the kids will love it. 
Toy Box from Ikea

Saturday, May 14, 2011

New Storage for Center Activities

I am in organization mode the last six weeks of school every year.  I like to reorganize my room and set things up the way I want it next year.  Even though we have to box up everything over the summer, at least I have an idea and the pictures to help me assemble my classroom for next year.

I hated my old way of organizing my centers (which can be viewed in an earlier post). I wanted my activities easily accessible and quick to view at a moments notice.

I purchased the shoe bins at Walmart for a dollar and spray painted the tubs' lid red for Math and blue for ELA.
I labeled each tub with the skill and then listed the activities that were in that tub.  There are about 3-4 activities in each tub.  If I were to do this all over again, I would just type the skill, laminate the cards, and then with permanent marker write the activities in each tub because sometimes I add a new activity to the tub.  If it does change you can always erase the permanent marker with a Magic Eraser.  It comes right off!  (So, much for permanent...huh)  Each label has a red star that means, "Don't touch" (for the kiddos)
I got smart and applied my label idea to my ELA tubs (since I did these second).  Each label just has the skill, I still need to write with permanent marker the activities in each tub.  The red star on the label means, "Don't touch" (for the kiddos)
These ELA activities are strictly my Treasures activities.  Treasures is our reading adoption.   Each tub has a red dot on the label that means, "Stop, don't touch" (for the kiddos)
Spray painted the lids and basket (which was a purple color, not the scheme of my room)
I used spray paint for plastic.  
Since I was using a large portion of my shelving for my center activities, I needed more shelving.  Instead of buying a bookshelf (that will fall apart in a year), I decided to make my own out of cement blocks and wood.  I can easily store this over the summer by taking it apart (unlike other bookshelves I have in my room). When I move schools, cities, states, I can leave behind my cement blocks and just take the wood. Moving from Texas to Louisiana, the bulky bookshelves were a hassle to move.       
The tubs with yellow lids have scissors, highlighters, and Magic Erasers.  These used to be behind my desk, but I like that they are easily accessible and I don't have to stop my teaching just to get to them.  My white tubs have my math manipulatives.  I am thinking about spray painting them red to go along with my color coding theme.  In my apple basket I have my dry erase markers, which I love that are by my dry erase board.  I have "Star Pencils" for kids who are amazing, on top of my stereo is a basket with stickers and then my GONG.  Which my mom got for me because we couldn't stop playing with it at Lakeshore.  
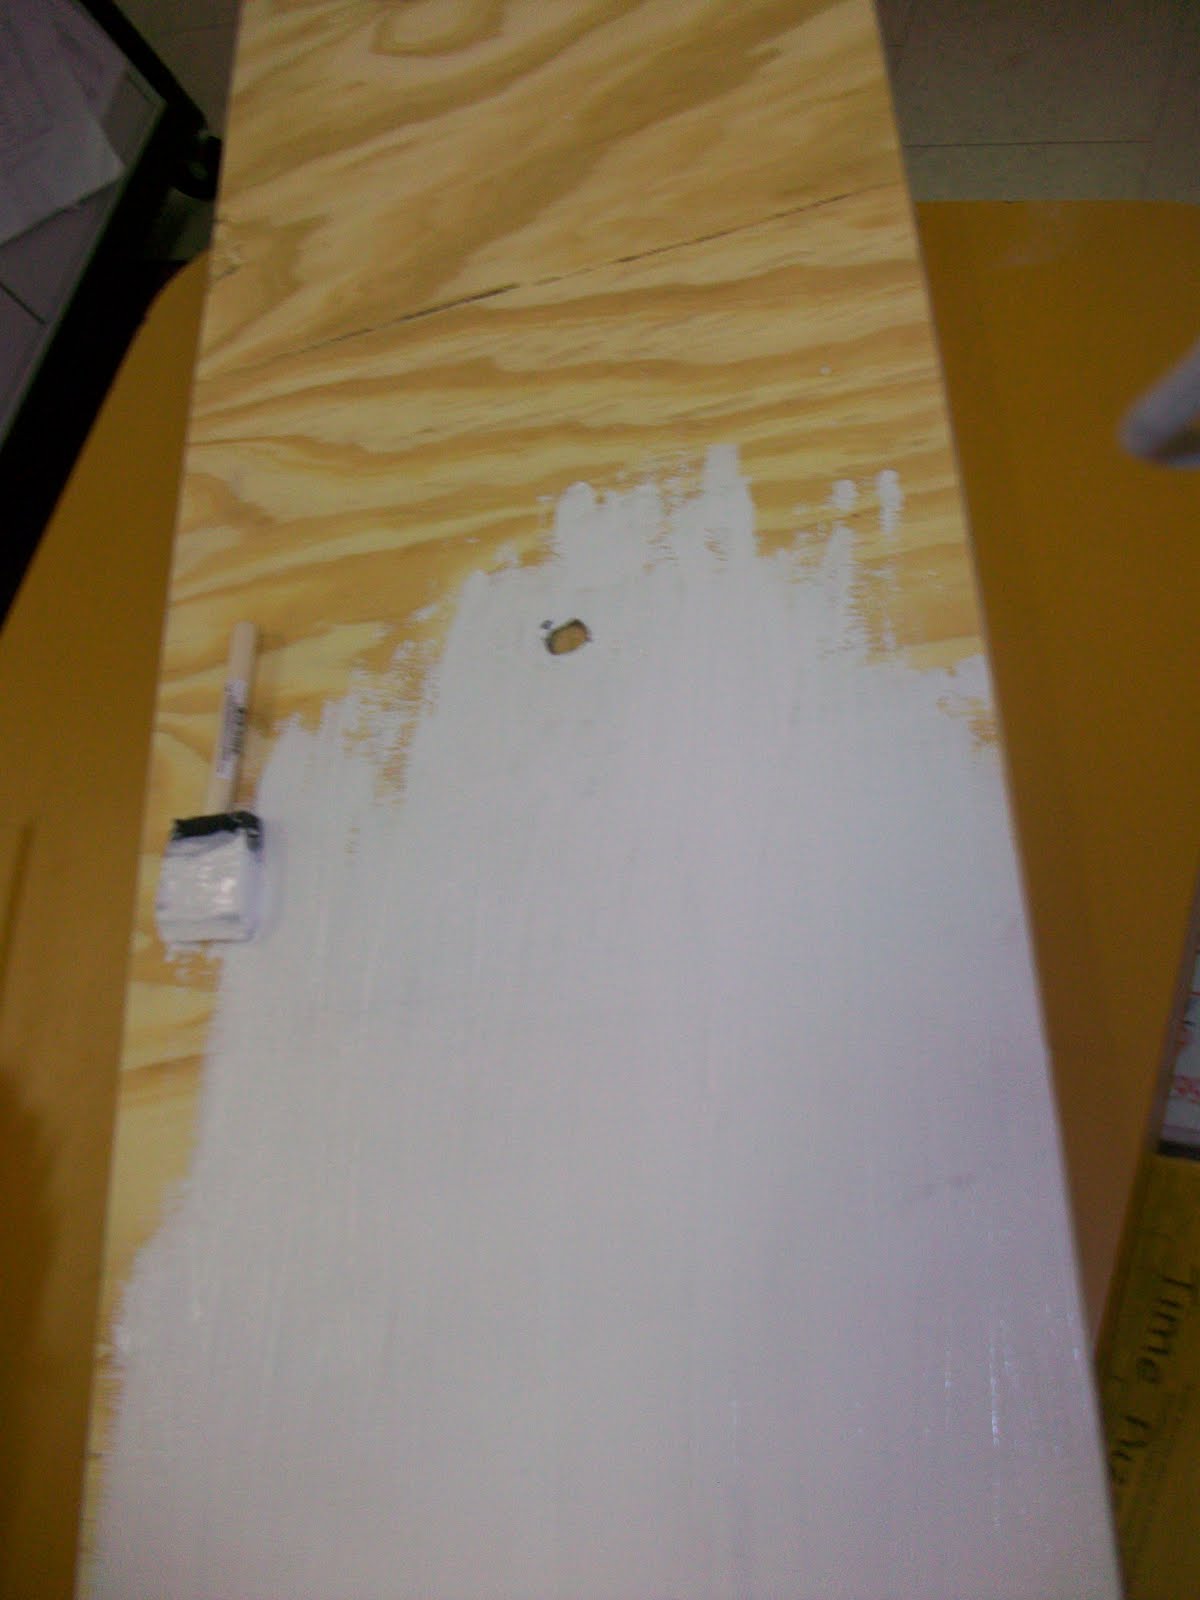
Primer on wood
Working hard after hours!
I only painted the sides that you would be able to see.  I bought wooden stars and tape that will stick to cement to decorate the blocks with.  Maybe I will do that next year.

Thursday, March 17, 2011

Smarty Pants

Well, this is the first month that I've used the "Smarty Pants" and the kids love this new behavior incentive.  I just need to make a sign for them because people always ask me about it.

I got this idea from another teacher.  Thank goodness for those "Smarty Pants" teachers out there who think of these things =)
Baby Jeans that are sewn at the bottom to hold the Smarties.  

Sunday, January 30, 2011

My Rules when Implementing Centers

Yes, I know that the "educational political correctness" is Literacy Workstation, but I am still going to call them centers.  It saves time to say and I am all about being efficient ; )

The Following is my Center Theory 
My rules when implementing centers.
  1. Have the students do the same center activity every week, but change the skill focus.  Teaching how to do an activity is a waste of time.  Students need to spend more time practicing the skill.  These center activities that never change, I call my "MUST DO" activities.  This means it is the first thing they must do in the center.
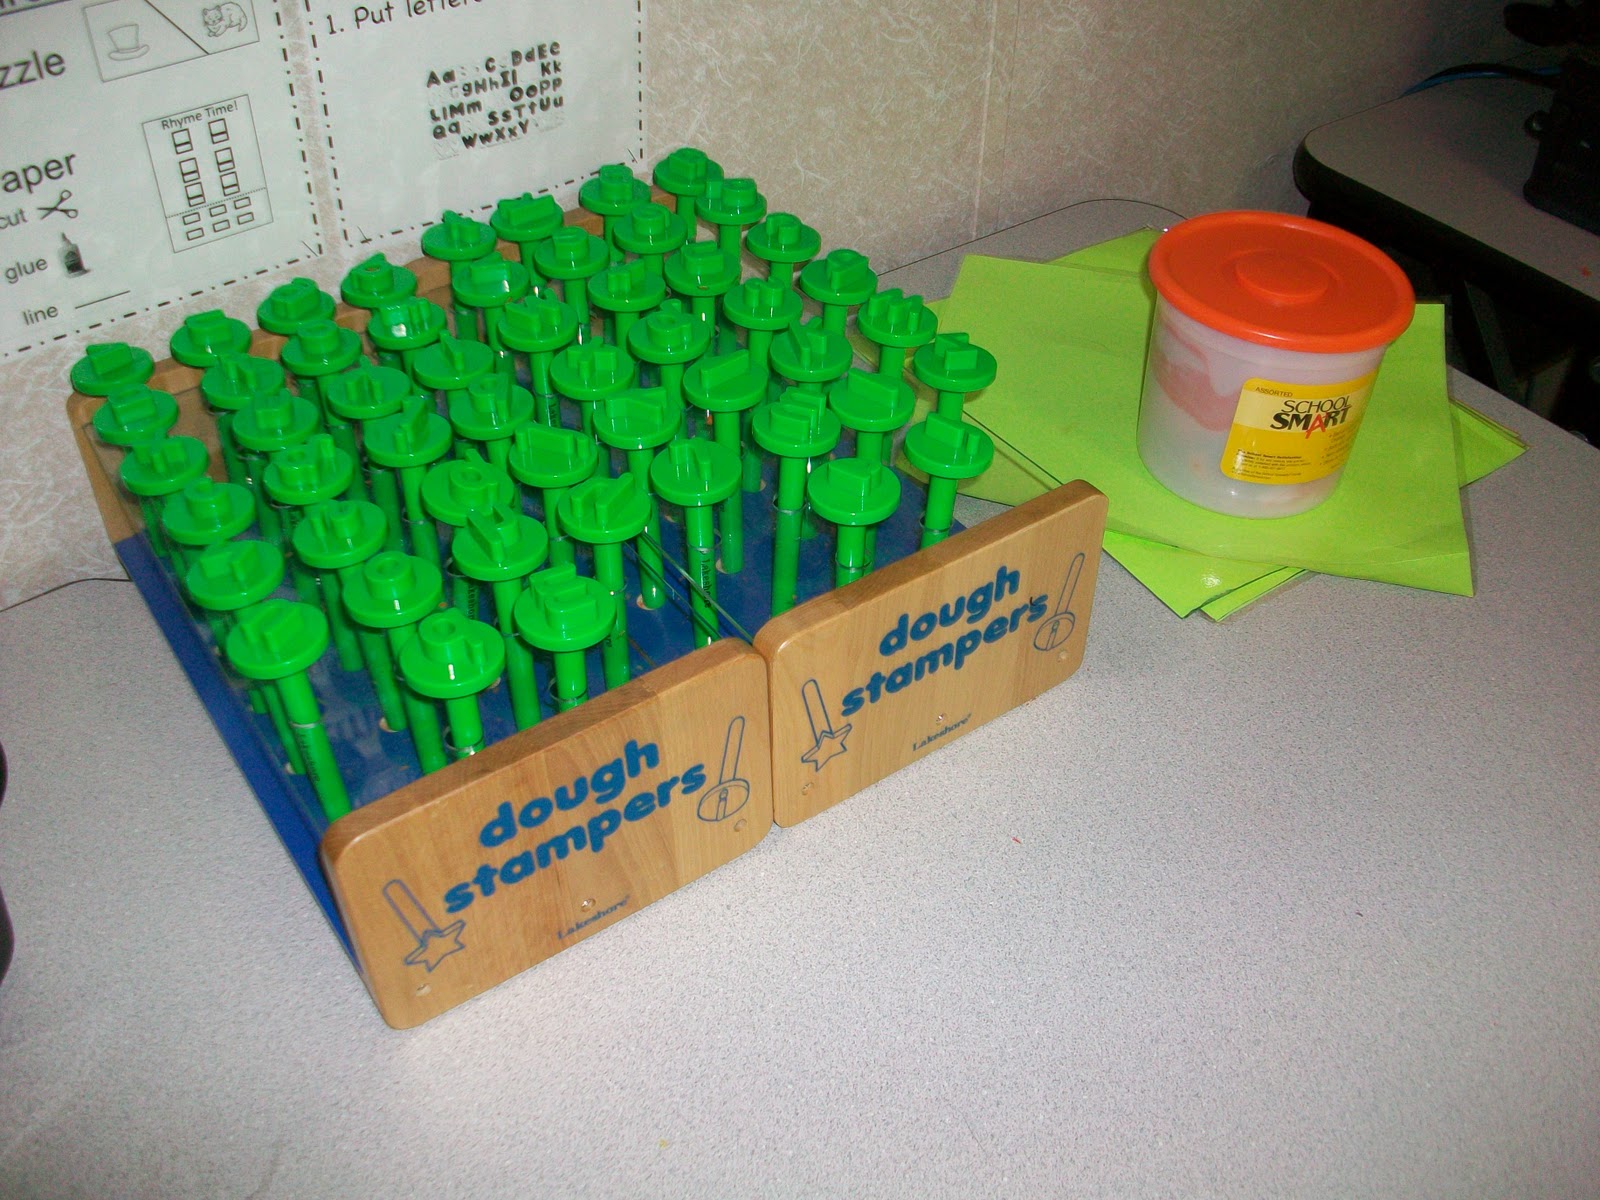
  2. Every station has a "MUST DO" activity and a "FUN NEVER-ENDING" activity.  The never ending activity is meant as a reward and motivator for them to finish the "must do" activity.  These never change and are differentiated.  Examples of possible never-ending activities would be: letter stamps, spelling scrabble (I explained this in a previous post), reading in the library, play dough letter stamps, writing etc.  A student will never finish a never-ending center or it is designed to take a long time to complete.  This eliminates the problem of students not having anything to do during centers.  Their work is never done. 
  3. I try to give my students at least two activity choices when they have finished their "must do" activity.  One choice will be the "never-ending" activity and the other one maybe an activity that reinforces a past skill.  These activities are new and therefore, exciting for the students (since it is something different), so I model it whole group, on Monday, before putting it in the center for that week.
  4. I post simple directions in the center.  I number each direction, so they know what to do first and last.
  5. I have two center rotations.  At the end of each center rotation, the students put their heads down and I walk around to "inspect" the center supplies.  This takes 1-2 min.  However, I feel it is a necessity if you want your supplies to be intact and everlasting.    
  6. I am super organized when it comes to putting my center activities in their tubs.  I have taught my students to place the flat things on the bottom of the tub.  Putting supplies in a tub may seem like an easy task, however, spacial awareness must be taught.  They need to understand that if you place something in diagonal it will get bent and that if it is awkward in shape, you might want to put it on top of the flat supplies.  Teaching how to respect the supplies of the classroom goes a long way. 
Directions are posted at each center.  Notice I use words and pictures.  These direction never change but the skills do in the "must do" activity.  The "must do" activity will be #1.
Example of a "never-ending" center activity.  These letter dough stampers were purchased at Lakeshore.
Example of a "never-ending" center activity.  You can print these mats from Alphabete Avenue.  This activity is great for the beginning of the year.
This is an example of a "never-ending" center activity.  I love these stamps because they have the lines underneath each letter.  So, the students do not accidently stamp them upside-down.  I purchased them from School Aids.

Wednesday, January 26, 2011

Weekly Star Student!

Let the second-half of the school year begin!  I try to change-up classroom incentives to keep my kiddos interested.  I started selecting a "Star Student".  This student is chosen for exhibiting great behavior.  As a reward they get to display the following sign on their chair (with their name) and get to use the special star cup.  The star cup holds star pencils (with star grippers), twistable crayons, scissors and a glue stick.  This cup is placed on top of their desk.  It is almost like their little trophy.  =)
From LakeShore
Make-shift pencil holder is a coozie from Hobby Lobby (.99), foam stars from Hobby Lobby (couple dollars)

Sunday, January 9, 2011

I'm Sick!!!

Sub. Tub
Last year, I had one tub with a variety of worksheets in it for substitutes to use incase I had to call in sick. However, I felt it wasn't very organized.

I changed this problem by getting a 3-drawer organizer and labeling them: ELA, Math, Science/Social Studies.

Next to my Sub Tub, I have my classroom schedule, list of students, explanation of rules/procedures and 3 days worth of student work packets (incase my students need to be split-up into different classes, if a sub does not show-up).

On top of my Sub Tub, I have a basket filled with incentives (behavior tickets for the Treasure Chest drawer held on Friday and stickers) and a red bag with first aid supplies (band aids, contact solution-for teacher use).

Calling on Students

To change-up the routine of calling on students with their hands raised, I draw sticks with their assigned student number on them.  The students get excited when I pull these out because it is almost a game to them; if they will be picked or not.  I got these sticks from LakeShore Learning.  I have also seen them at School Aids.

Saturday, January 8, 2011

Center Activity Storage

I store all my centers under my desk in gray tubs that I purchased from Wal-Mart.  I store the individual activities in large envelopes or ziplock bags.  (Unfortunately, not everything can fit in the tubs.  I store things like large foam dice, piggy banks, bowling games etc. in my file cabinet.)
I write the skill that the activities are in the tub cover.

Wall of Words

Word Wall
As we learn a new word, it is added to the wall.  This is my wall for ELA words.  I printed the words out, pasted them on red index cards and then laminated them.  

The ABCs are from Mardels.  I added a blue dot to the vowels.  The letter "Y" gets 1/2 a blue dot, since it is sometimes a vowel.
Pictured: Word Wall, Listening Center, Directions for the Listening Center, Computer Center, Dividers for the Computers (I got the foam boards from the Dollar Tree and spray painted them.  This helps with behavior.
Pictured: Close-up of words, notice the blue dots for the vowels

Math Center Tubs

I use the same Center Rotation Chart for Math as ELA.  


The only difference is I will not use the COLOR groups for math so much.  (Remember the COLOR group is the homogeneous group-students with the same abilities, students with similar needs).  


WHY?  With math...the abilities of my students vary with each skill we learn.  So, it is harder to group them because one may understand tally marks, and not addition, but they may understand time etc.  The groups would change everyday.  To fix this dilemma, I will pull random students from each group or I could just pull the whole NUMBER group to the small group table.  It all depends on their needs for that particular day.

Here are pictures of our classroom math area.  On one side of our rolling storage shelves, we have our math tubs.  On the other side, we have our math manipulatives.


ELA Center Tubs

Here is where my students get their ELA Center tubs.  The leader will take the tub to a specific location in the room.
*Pictured Above: Center Crowns, "Think Tub", Center Tubs, Center  Mailboxes)*
Tub with a Sad Face= This is called the "Think Tub".  When a student is not following directions during center time, they must complete an ELA worksheet instead of having the privilege of working on a center activity.  When they finish the sheet, they put it on my desk and return to their center.  Students do not ask me if they can go back to centers (b/c I will be in a small group), they know to do it on their own.
Blue tub that says, "Center Crowns"= This is where we store the crowns for the leaders.  From 9am-10am we have a whole group reading lesson.  At 10am, I pass out crowns to students who were doing an amazing job participating and following direction during that time.  One student will receive a crown for each NUMBER group.  The job of the leader is to get the center tub, pass out supplies and put center tub away.  In addition, they need to monitor the progress and behavior of their group.
Black tubs with pictured labels= Pictured are four of the five center tubs.  Centers: Library, Word Work, Spelling, Reading, Listening (not shown-this tub is in the center location already), and Computers (no tub needed)
Last year, the students kept a"Center Folder" to hold all their center work.  I did not like that because I had to rummage through the desk to get it, work that had glue on it would get all over and the folder would get torn-up quickly.

This year I tried something different and love it!  I got two letter mailboxes from Office Depot.  I numbered the slots, so I wouldn't have to rename the slots every year.  The students put completed center work in their mailbox.  


Friday, January 7, 2011

Flower Pens!

I felt like every time I started the timer to DIBEL a student, I was racing to find a pen.  By putting a basket of FLOWER PENS on my small group table, I always have a pen!
Flower Pens are awesome because you never walk away with them.  Plus, they give the whole area a home-like touch.
How do you make Flower Pens?
  1. Get fake flower, green floral tape, pen, hot glue gun, rubber cement (Hobby Lobby)
  2. Cut the fake flower so all you have is the top and a small portion of the stem.  You will need this small portion of the stem to attach the flower onto the pen.
  3. Position the flower at the top part of the pen and wrap the green floral tape around the flower stem and the pen.  Go over many times for support.  Wrap the green floral tape around the whole pen.  It should be tight.  Leave the ink part showing.
  4. For extra durability, I hot glue the top part, where the Flower and Pen meet and the bottom part, where the green floral tape ends.
  5. For extra extra durability, I take Rubber Cement and lightly glaze the green floral tape which has been spun around the pen.
  6. The green tape will be sticky for awhile, but it will eventually dry.
  7. Start writing with your new Flower Pen!

Supplies for Small Group

Supplies I Use in Small Group
These supplies are stored in the canvas bags hanging by Command Hooks on the wall.  I switched over to the hanging bags (over plastic storage drawers) because it was off the floor and out of the way.  
All those canvas bags came in one package at Hobby Lobby.
This bag holds dry erase markers.
This bag holds our Puppet Erasers (You can get them at the Dollar Tree)
This is how you use a Puppet Eraser.  It is perfect for cleaning dry erase boards and the kids love them.  =)
Since I progress monitor at my small group table, I store my progress monitoring books here.
I keep an ABC chart, Blends and Digraphs Chart, Hand Clappers (working with syllables-Dollar Tree) and Pointers (From ReallyGoodStuff or Party City during Halloween season).  We use these fingers to point to the words when we read.